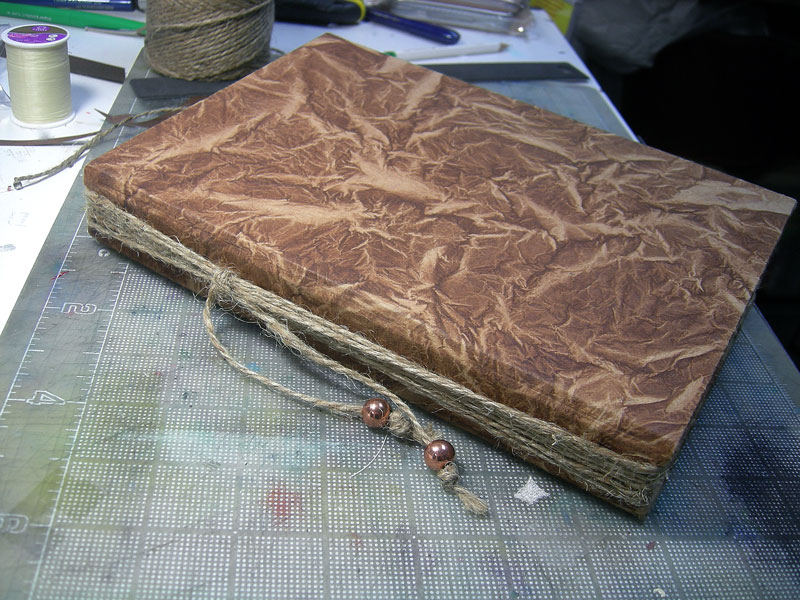
 Finally finished editing the pics from making Sketchbook #11. The last several books have used a tied binding, but with the strings hidden under the cover wrap. This time I decided to use exposed ties, inspired by this method described on WetCanvas.com.
I thought this over for a while before making it. I love the look of strings-as-design-element, and wanted to use jute twine, but had a feeling I would not love thick strings at the center of every signature. A little testing proved that notion was correct. I decided to do a hybrid wrap, combining my usual upholstery thread inside, and jute twine outside.
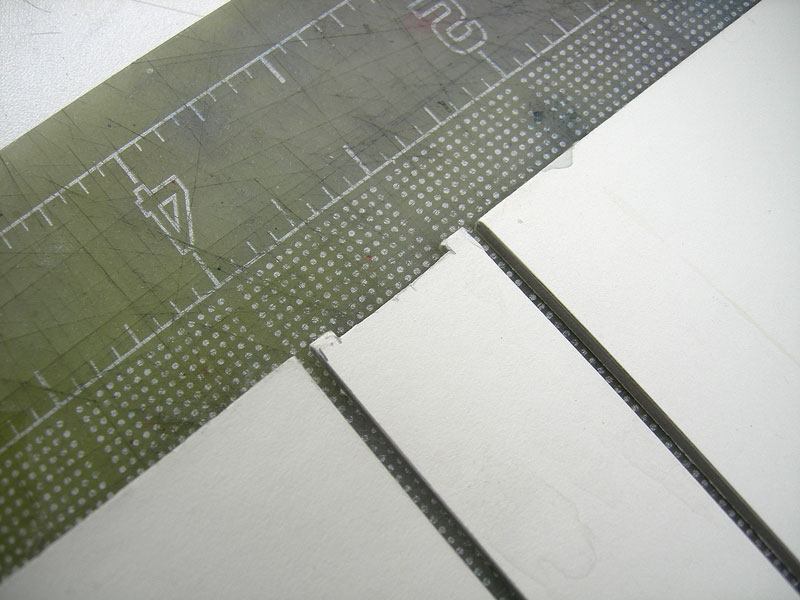
To start, it looked to me like the stability of the pages relies on the strings staying on the spine once the book is assembled. I’m probably the only person on the planet that would worry about this, but I wanted to be sure the twine/threads were not going to slip once it was all tied together. Easily solved – I just cut a notch in the ends of the spine board, so the ties could all sit right in there in it and not slide. Also, with the twine wraps set down a bit, they don’t add to the overall height of the book. (Important to me, since it needs to fit in The Starry Sketch Case and there’s no extra room.)
Here’s the spine ready to assemble, and the notches.

 I didn’t take pics while assembling the spine – used Tyvek and PVA glue to attach the three pieces together. I’ve used that for several books now and find that it’s strong and reliable. (Bonus: if you reuse a shipping envelope, the Tyvek material is free.)
Normally, to hide the strings outside, I’d now have to attach the endpaper to the spine, then wrap on all the sigs to that awkward, flapping thing, then attach all that to the cover-in-progress. Not this time! It was wonderfully fast and easy to attach the spine together, place the endpapers, then wrap on the pretty paper for the outer cover. A few minutes later: Voila!
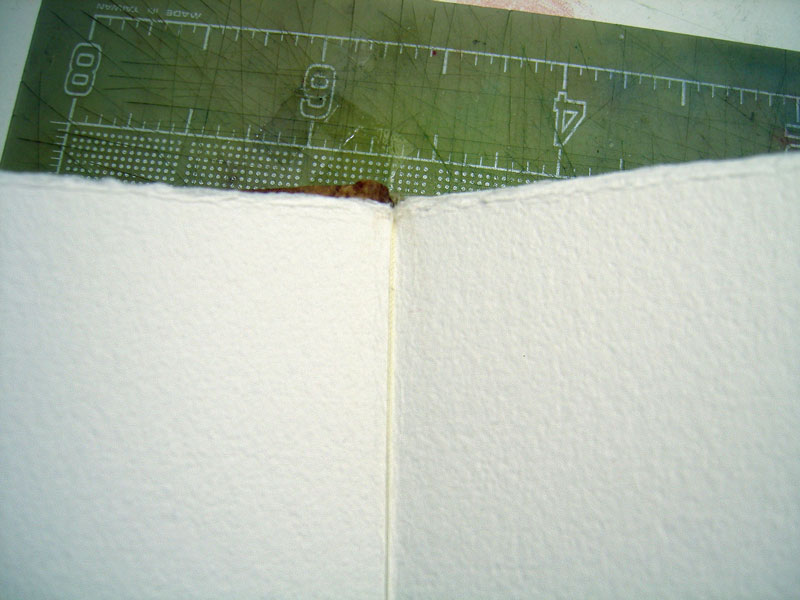
 This is the inside of the cover. Normally I place the outside paper first, wrap it over then hide the edges with the endpaper. I’m kind of in love with the deckle edges on this Lokta paper, so I featured them instead of hiding them. You can see the little dip on the end of the spine – it’s not very deep. Just enough to countersink the twine a bit. By the way, the endpaper there is not wood. It’s paper that looks like wood. That’s been in my stash for a while now and it finally has a purpose.
Now, with the cover complete, time to attach the pages. I used upholstery thread inside, to keep it unobtrusive and not bulky. This I tied into a loop just a little bit longer than the pages (9″) and laid one at the center of each signature. I now have a loosely-stacked book block with little loops hanging out. All the knots were placed at the bottom for the sake of neatness. (Note: use a strong knot. You don’t want it suddenly give way and dump your pages out!)
To attach it all together, I wove the twine in and out through the end loops and secured all with a knot in the middle. Added some copper beads at the string ends for a little bit of sparkle – and here it is:
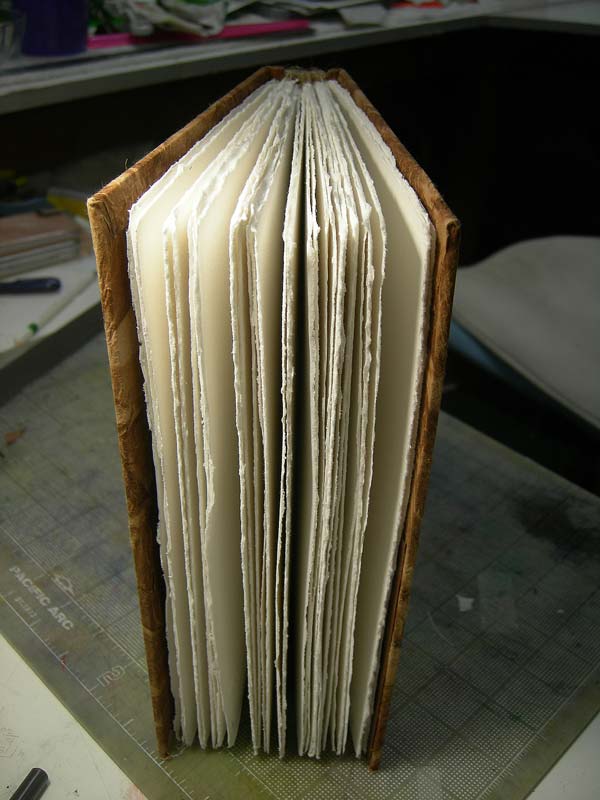

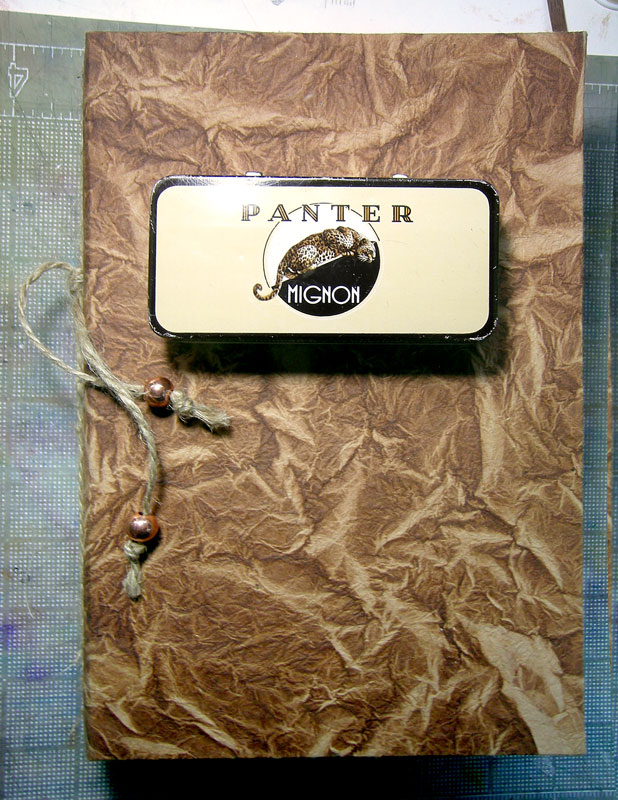
The pages are made of Garza Papel cold press. I was very pleased to find it on sale, could not have afforded a book’s worth of it otherwise. That’s the front cover; back is similar.
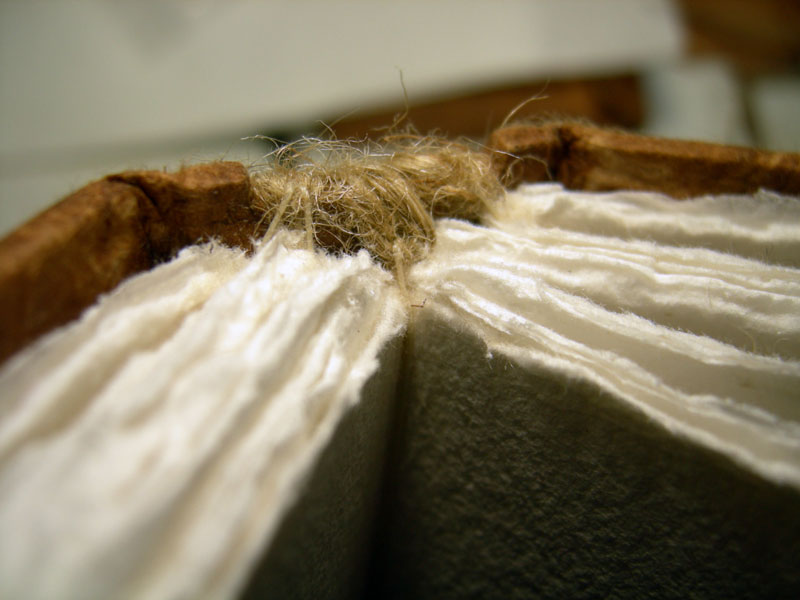
Inside and out: here’s how the twine and thread interact at the ends of the book. A couple of the threads were too long and wrapped over the outside – I unwove it and made those shorter until all were even. Mostly even, anyway. Next pic is the upholstery thread at the center of a signature. Super strong and not at all bulky!

One of my pet peeves about sketchbooks is gaps in between the signatures. This one has one small gap, that no amount of adjusting strings has gotten rid of. I’ll live with it this time. Looks good with the Panter tin palette too! I added a pocket in the back, made of the fake-wood paper.

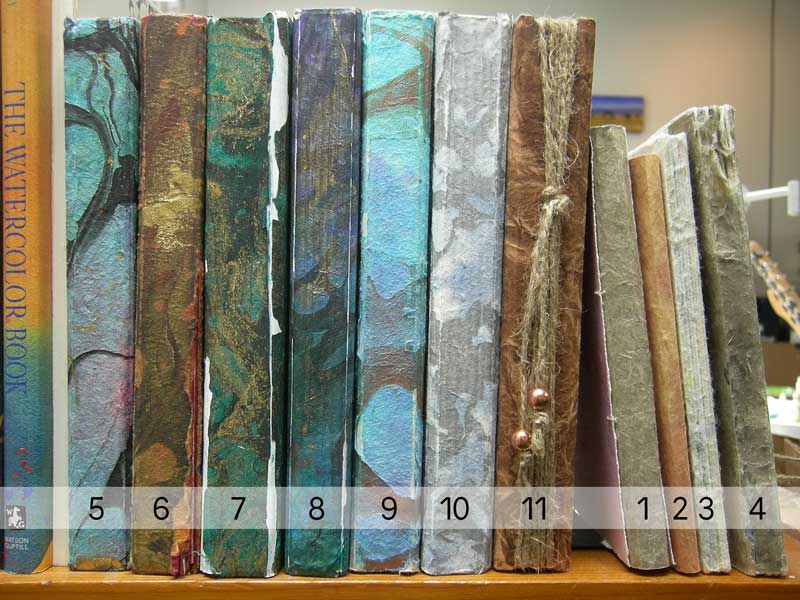 Per tradition, here is Book #11 with its predecessor, now full and ready to join its brethren on my shelf.
About the collection: One and two are early little paintings that were all of a size, so I bound them into two small books. Three and four were just folded pages attached to each other, with another paper wrapped around for a little stability. Five through 11 are all the hardbound books. (Hardbound with varying degrees of success I might add: Number 7 there lost its covers entirely and is awkwardly repaired with tape. Live and learn! )You can see the hidden string ties on books 8-10, that’s the slightly ribbed appearance on the spines.
Overall I’m very pleased with this method and will probably make more sketchbooks like this. The exposed strings add a lot of design possibilities! Plus it’s much less hassle than the way I was making them before. Faster build = more time to paint. What’s not to love?
Also posted on WetCanvas.com